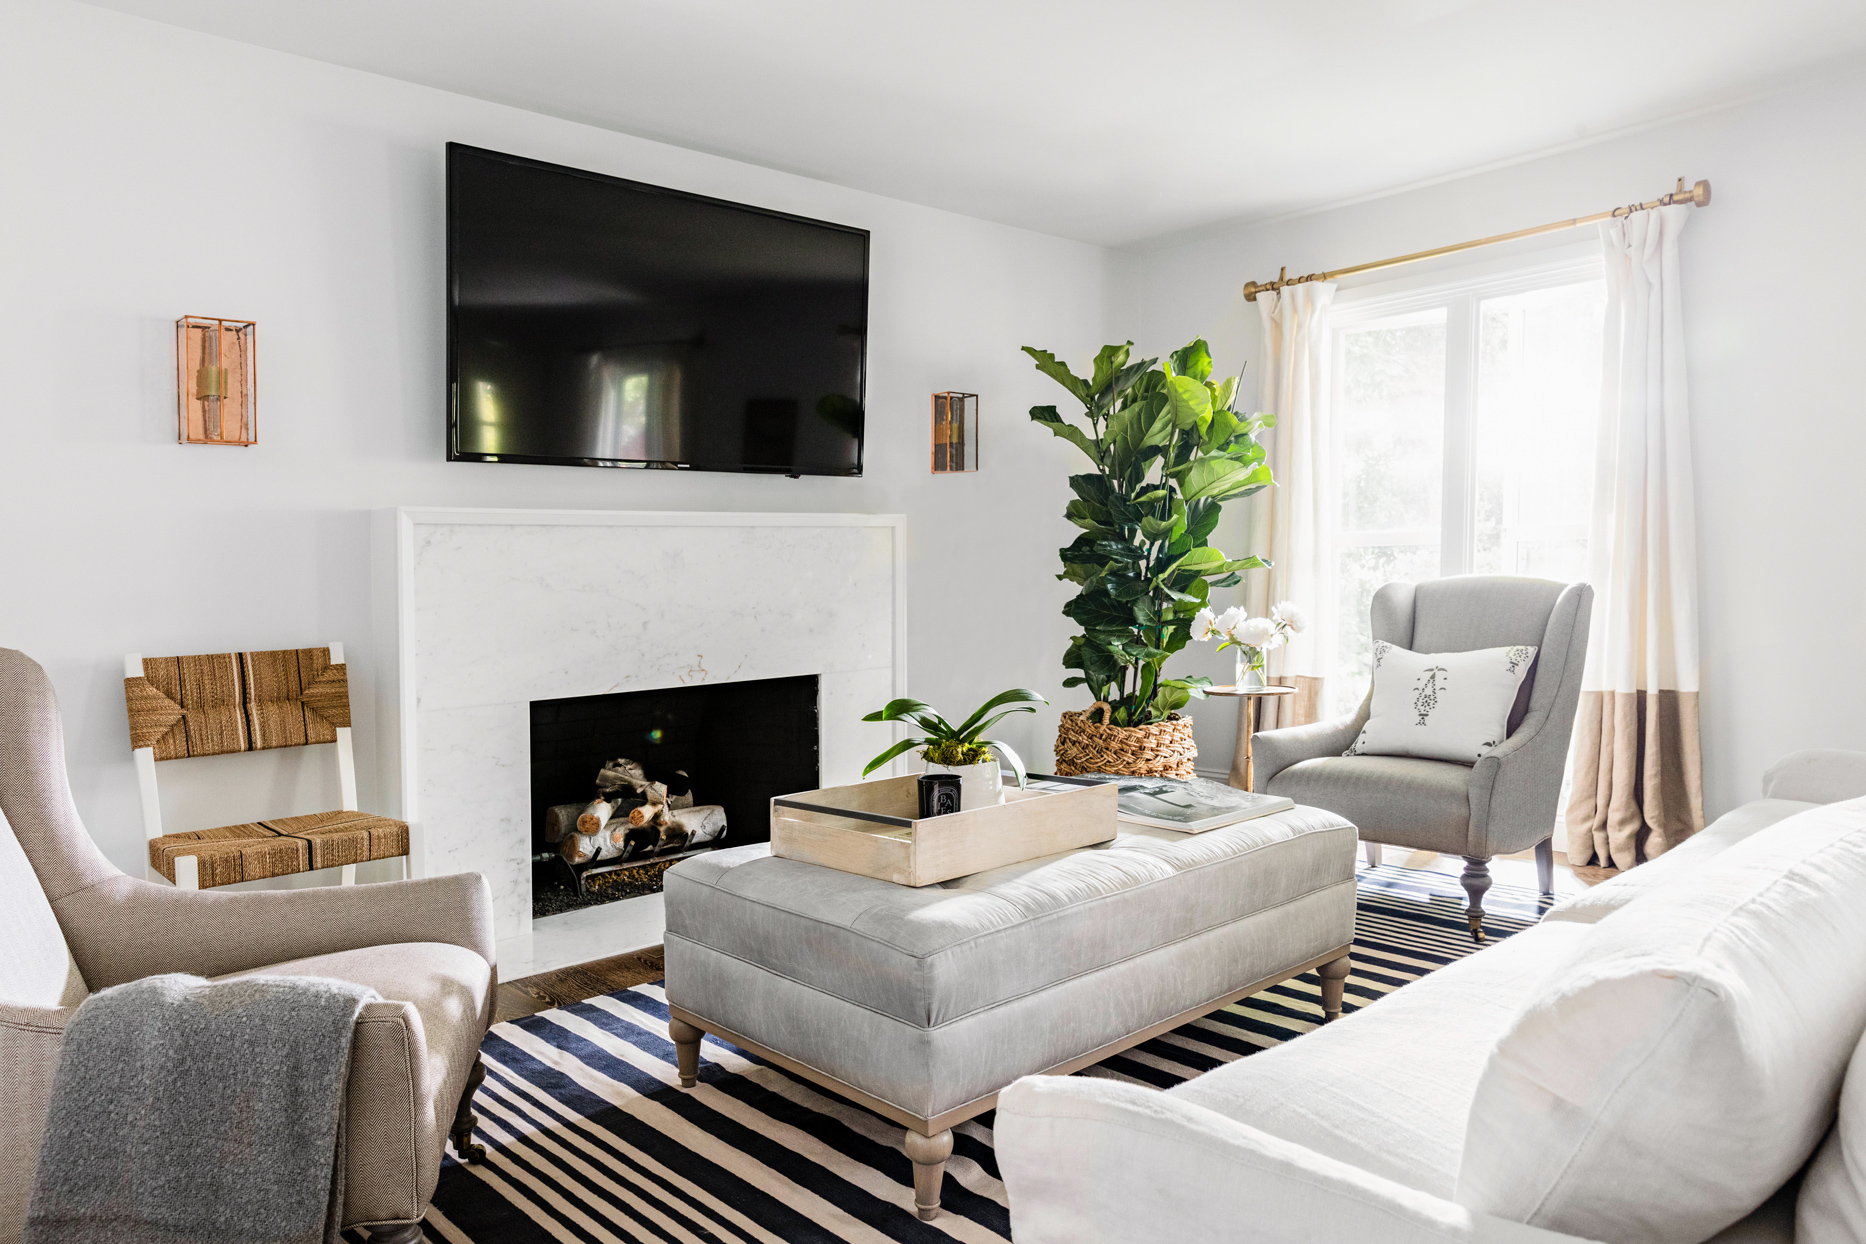
How to Plan a House Party Layout (Room by Room Checklist)
A good party layout should feel easy before the first guest arrives, and that usually comes down to one quiet decision: where each piece of furniture belongs.
Most hosts are trying to answer the same few questions before they start moving chairs: Where will people naturally gather? Which paths need to stay open? What should stay in the room, and what should move out for one evening? The stress comes from trying to solve all of that at once. I find it easier to treat the room like a service plan: decide what people need first, then make the layout support it.
This guide is for readers who want a clear next step instead of vague decorating advice. You will learn how to set your goals, what to measure before you move anything, how to sketch a quick floor plan, and how to check each room so guests can talk, eat, and move around without the space feeling cramped.

Start With Your Hosting Goals
Before you touch a sofa or fold up an extra chair, decide what the room needs to do. A house party layout is rarely just about fitting bodies into a space. It is about supporting the mood you want. If you skip this step, the room often ends up arranged for appearance instead of use.
Ask yourself these questions first:
- Do you want guests to mingle in small groups, or settle into longer conversations?
- Will food be passed around, served buffet-style, or mostly handled in the kitchen?
- Are people likely to stand, sit, or move between both?
- Which areas should feel active, and which areas should feel calm?
Three priorities usually matter most:
- Conversation zones: small clusters of seats or standing areas where people can speak without shouting across the room.
- Traffic flow: obvious paths from the entrance to seating, food, drinks, and the bathroom.
- Natural gathering points: the places people will drift toward whether you plan for them or not, such as a coffee table, island, fireplace, or drinks station.
If your living room is the social center, let it carry the conversation. If your kitchen always becomes command central, plan for that instead of pretending it will not. Guests are wonderfully consistent about finding the one place that makes sense and then standing there. Your job is to make that instinct work for you.
Measure Once Before You Move Anything
Hosts often waste energy by rearranging first and realizing later that a door cannot open fully or a serving table blocks an outlet. A quick measuring round saves more time than it takes.
Make a short list and note these dimensions:
- Overall room length and width.
- Door swings and how much clearance each door needs.
- Window locations, especially if curtains, low sills, or radiators affect where furniture can sit.
- Wall outlets for lamps, music, slow cookers, or phone charging.
- Large fixed items you will not move, such as fireplaces, media consoles, built-ins, or heavy tables.
- Main walkway widths between rooms.
You do not need architectural precision. A tape measure, a phone note, and a rough sense of scale are enough. The goal is to prevent obvious layout mistakes, not draft a construction plan.
Create a Simple Floor Plan
Now sketch the room on paper or in a notes app. Start with the walls, then mark fixed items first. After that, add the pieces you are willing to move: sofa, chairs, coffee table, side tables, dining chairs, bar cart, bench, and any folding seating.
Use this order:
- Draw the room outline.
- Mark doors, windows, and outlets.
- Place fixed furniture.
- Add your anchor piece for the room, usually the sofa, dining table, or serving table.
- Sketch the clear walking routes between important destinations.
- Add secondary pieces only after the paths still look open.
When the sketch looks crowded, the real room will feel even tighter. That is the moment to remove, not squeeze.
Quick Room-By-Room Planning Table
| Room | Main Goal | What to Keep Clear | Common Mistake |
|---|---|---|---|
| Living room | Conversation and mingling | Paths between seats, doorway, and adjacent rooms | Pushing all seats against the walls |
| Dining area | Serving and overflow seating | Route to table edges and serving surface | Using every chair at once, even when it clogs movement |
| Kitchen | Food, drinks, and refills | Appliances, sink, fridge, and prep lane | Placing drinks where cooks still need to work |
| Bedroom or quiet area | Calm retreat or closed private space | Bedside path and personal storage | Leaving the room half-open without a clear purpose |
| Entry and bathroom | Arrival flow and convenience | Hooks, floor space, handwashing basics | Letting coats and supplies pile into walkways |
Living Room Checklist: Build Conversation First
The living room usually carries the emotional weight of the party. If it feels balanced, the whole home feels easier. If it feels blocked, the rest of the evening can feel awkward no matter how good the snacks are.
Start by pulling seating into small groups instead of lining every piece against the walls. That sounds counterintuitive, but it works. People talk more comfortably when chairs angle toward each other and a shared surface sits within easy reach.
Use this checklist:
- Angle two to four seats toward a shared point such as a coffee table, ottoman, or rug center.
- Keep enough room for people to pass behind seated guests without brushing knees or bags.
- Move oversized side tables that act more like obstacles than helpers.
- Leave at least one landing surface for drinks within each conversation zone.
- Shift decorative pieces that make the room feel smaller or fragile during a busy evening.
The coffee table deserves a quick decision. If it is sturdy and useful, keep it. If it is sharp-edged, too large, or positioned right where everyone needs to pass, move it aside and replace it with smaller side tables or a narrower bench. A party layout does not need to look exactly like an everyday layout.
One practical test helps here: walk from the doorway to the main seat, then to the next room, while imagining two guests already standing and one person carrying drinks. If the route feels fussy, it is not ready yet.
If you want a second planning angle, the site’s guide on how to arrange furniture for a house party pairs well with this checklist and helps you think through the room as a full event space instead of a normal evening at home.
Dining Area Checklist: Create an Easy Serving Path
Your dining area does not need to hold every guest at once. In fact, it usually works better when it does not try. For a casual party, think of the dining area as a support zone: part serving station, part sit-down option, part backup landing space.
To keep the room useful:
- Choose one side of the table as the most open serving edge.
- Pull chairs away from the table if they will not be used immediately.
- Leave enough space behind occupied chairs for someone to pass without the whole line stopping.
- Keep backup folding chairs nearby but not in the room unless you need them.
- Use one end of the table for plates, napkins, or dessert only if it does not trap people in a corner.
A simple rule helps: every table surface invites use. If you place a decorative tray on a sideboard, someone will set a drink beside it. If you leave one chair squeezed into a narrow corner, someone polite will still try to sit there. Arrange for the behavior you want, not the behavior you hope people will avoid.
If you are hosting a birthday gathering instead of a general get-together, you may also want the serving surface to double as a sweets or gifts station. In that case, this companion page on organizing furniture for a birthday party gives you a helpful variation on the same idea.
Kitchen Checklist: Protect the Working Lane
The kitchen is where layout plans quietly fail. Guests drift in for drinks, the host needs the sink, someone blocks the fridge, and suddenly the room is full of stalled traffic. The fix is not to ban people from the kitchen. The fix is to decide what the kitchen is for before the party starts.
You usually have three good options:
- Kitchen as service zone: food prep, final plating, and refills stay here; drinks move elsewhere.
- Kitchen as drinks station: drinks, ice, and cups live here; hot food or snacks move to another room.
- Kitchen as dual-use space: only workable if the room is large enough to keep a clear prep lane.
Whichever option you choose, protect these key spots:
- The route to the refrigerator.
- The sink area.
- Any surface you still need for last-minute prep.
- The doorway between kitchen and dining or living space.
If your kitchen is small, move the drinks station out. This is one of the easiest layout wins available. A drinks cart, sideboard, or console table in the dining area often does more for flow than any amount of squeezing and apologizing in the kitchen ever will.
Set out the full drink setup in one place: cups, opener, napkins, ice bucket, and a discreet spot for empties. The fewer reasons people have to step back into the working zone, the calmer the room stays.
Bedrooms and Quiet Areas: Decide Open or Closed
One of the most useful hosting decisions is also one of the least glamorous: should bedrooms stay off-limits, or should one room become a quiet corner? Both are valid. The mistake is leaving the answer unclear.
If you want bedrooms closed:
- Close doors fully before guests arrive.
- Move anything you need from the room in advance so you are not reopening it all evening.
- Make sure guests do not need to cross a private room to reach a bathroom or coat area.
If you want a quiet corner instead:
- Choose a room with softer light and less through-traffic.
- Add two or three comfortable seats, not a full second party setup.
- Provide a side table, tissues, water, and a small lamp if needed.
- Keep the room tidy and intentional so it feels restful, not forgotten.
This room is especially helpful for older relatives, one-on-one conversations, or any guest who needs a breather from music and movement. You do not need to make it precious. You just need to make it clear.
Entryway and Bathroom Checklist: Reduce Friction Early
The first five minutes of a party shape the whole evening. If guests arrive and immediately have nowhere to place a coat, no obvious path into the home, and no idea where the bathroom is, the layout already feels unsettled. Small practical signals fix that quickly.
At the entryway:
- Choose one clear coat and bag drop zone.
- Use hooks, a bench, or a basket only if they do not narrow the path.
- Move shoes, packages, umbrellas, and decorative stands that crowd the floor.
- Leave a visible route from the door to the main gathering room.
In the bathroom:
- Set out hand soap, hand towels, and spare toilet paper where guests can find them without opening cabinets.
- Clear the vanity of private clutter.
- Add a small waste bin if there is not one already.
- Check the mirror, lighting, and door lock before guests arrive.
These details are not decorative, but they do the work of hospitality. They also reduce the little interruptions that pull a host away from the room again and again.
What to Remove Before the Party Starts
Hosts often focus on what to add, but a comfortable layout usually improves faster when you remove a few things first. The best candidates are pieces that interrupt walking paths, collect clutter, or make the room feel too precious for real use.
- Extra chairs you are not sure you need yet.
- Fragile decor on low tables.
- Bulky baskets, floor lamps, or stools near doorways.
- Small tables with no clear purpose.
- Pet beds, toys, or everyday storage bins in main circulation paths.
If you are unsure about a piece, ask one question: does this help guests rest, talk, eat, or move? If the answer is no, it can probably step aside for the evening.
Two Quick Layout Examples You Can Borrow
Sometimes the hardest part is translating general advice into an actual room. These examples are simple on purpose. You can adjust them to fit your furniture, but they show how the checklist works in a normal home.
Example 1: Small living room with an open doorway to the kitchen
Imagine a sofa facing a coffee table, two chairs, one floor lamp, and a doorway that leads straight into the kitchen. In this setup, I would keep the sofa where it is, angle the two chairs toward the coffee table instead of toward the television, and move the floor lamp to a corner so the path to the kitchen stays open. Drinks would not go in the kitchen. They would go on a console or side table in the dining area or along one wall of the living room.
The reason is simple: if the kitchen doorway is already the natural route, it cannot also be the drinks queue. That one adjustment usually gives the room a calmer rhythm. Guests can cross the room, pause to chat, and keep moving without forming a cluster right where the host still needs to work.
Example 2: Dining room that needs to handle food and extra seating
Now picture a dining room with a rectangular table, six chairs, and not much extra floor space. For a casual gathering, I would leave four chairs at the table, move two against the wall for backup use, and keep one long side of the table easier to approach than the other. Plates and napkins could sit at one end, while shared dishes stay in the center or on a sideboard if you have one.
If more guests arrive than expected, the backup chairs can come back in. Until then, the room breathes better and the serving path stays open. A slightly emptier room almost always works harder than a fully furnished one on party night.
A 10-Minute Final Walkthrough
Before you change into party clothes or light a candle and call it done, do one final walkthrough. This part matters because the room behaves differently once surfaces are set and doors are open.
- Walk in through the main entrance as if you were a guest carrying a coat.
- Set a drink down in each seating zone and make sure a landing surface exists.
- Walk from living room to kitchen, then to the bathroom, without sidestepping furniture.
- Open every door you expect guests to use.
- Stand in the kitchen and confirm you still have one clear working lane.
- Remove one more item if anything feels even slightly cramped.
The room does not need to be perfect. It needs to be readable. Guests relax faster when the layout quietly tells them where to go, where to sit, and what each room is for.
Conclusion: A Welcoming Layout Is Mostly Good Editing
Planning a house party layout becomes much less stressful when you stop treating it like a decorating puzzle and start treating it like guest flow. Set your goals first, measure once, sketch the room, and then check each space for what people actually need: conversation, movement, comfort, and a little breathing room.
The key points are simple:
- Choose conversation zones before decorative details.
- Protect the walking paths that matter most.
- Let the dining area support the party instead of trying to hold everything.
- Keep the kitchen usable by deciding whether it is a prep zone, drinks zone, or both.
- Make private rooms either clearly closed or clearly useful.
- Reduce clutter at the entryway and bathroom so the evening starts smoothly.
If you want a broader sense of the site and its room-planning approach, visit the home page or read more about Eleonora Bed and Breakfast. If you run into a broken page or need help finding a guide, use the contact page and include the page title so the next step is easy.